
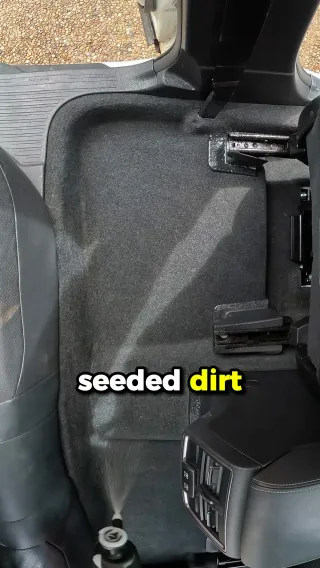
A Comprehensive Guide on Deep Cleaning Your Car's Carpet
Keeping your vehicle's carpets clean not only maintains its aesthetic appeal, but also affects the overall lifespan of the carpet fabric. ...more
Autoclearn
October 12, 2023•2 min read
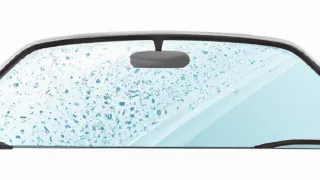
3 Key Factors to Achieving Streak-Free Car Windows
You can have a beautifully designed vehicle shimmering under bright sunlight, but if its windows are covered in streaks, its appeal lowers significantly. ...more
Autoclearn
October 03, 2023•2 min read

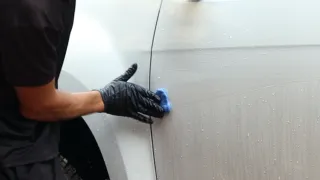
🚩 Only 8 Tools You Need To Detail Any Car
Whether you're a pro detailer with a passion for gleaming, spotless vehicles or a casual car owner interested in sprucing up your ride, car detailing is a crucial part of automotive care. ...more
Autoclearn
September 07, 2023•2 min read
The ONE big difference between a professional paint correction job and an amateur paint correction job
There's ONE big difference between a professional paint correction job and an amateur paint correction job ...more
Autoclearn
July 13, 2023•2 min read

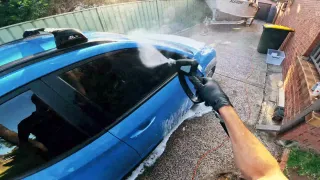
Washing Your Car with Tap Water May Be Damaging Your Paint
We all take pride in our vehicles and want to keep them looking their best. Regular car washing is an essential part of vehicle maintenance, ...more
Autoclearn
June 14, 2023•3 min read
Why Washing Car Using The Two Bucket Method Is A Waste Of Time
The Two-Bucket Method is a car washing technique that is widely used and recommended by many car detailing experts. ...more
Autoclearn
May 03, 2023•3 min read
© 2025 Autoclean Limited